Monday, February 19, 2018

How to jailbreak Apple TV 4 with greeng0blin

How to jailbreak Apple TV 4 with greeng0blin

1) Head over to the official nitoTV website and download greeng0blin. You don’t need to download the nitoTV installer as it’s bundled inside greeng0blin.
2) Connect your Apple TV 4 to your computer via the USB-C port on the back. You’ll need a USB-C cable for this.
3) Download Cydia Impactor and launch it on your computer. Your Apple TV should appear in the interface.
4) Drag the greeng0blin.ipa onto Impactor, and enter an Apple ID and password.
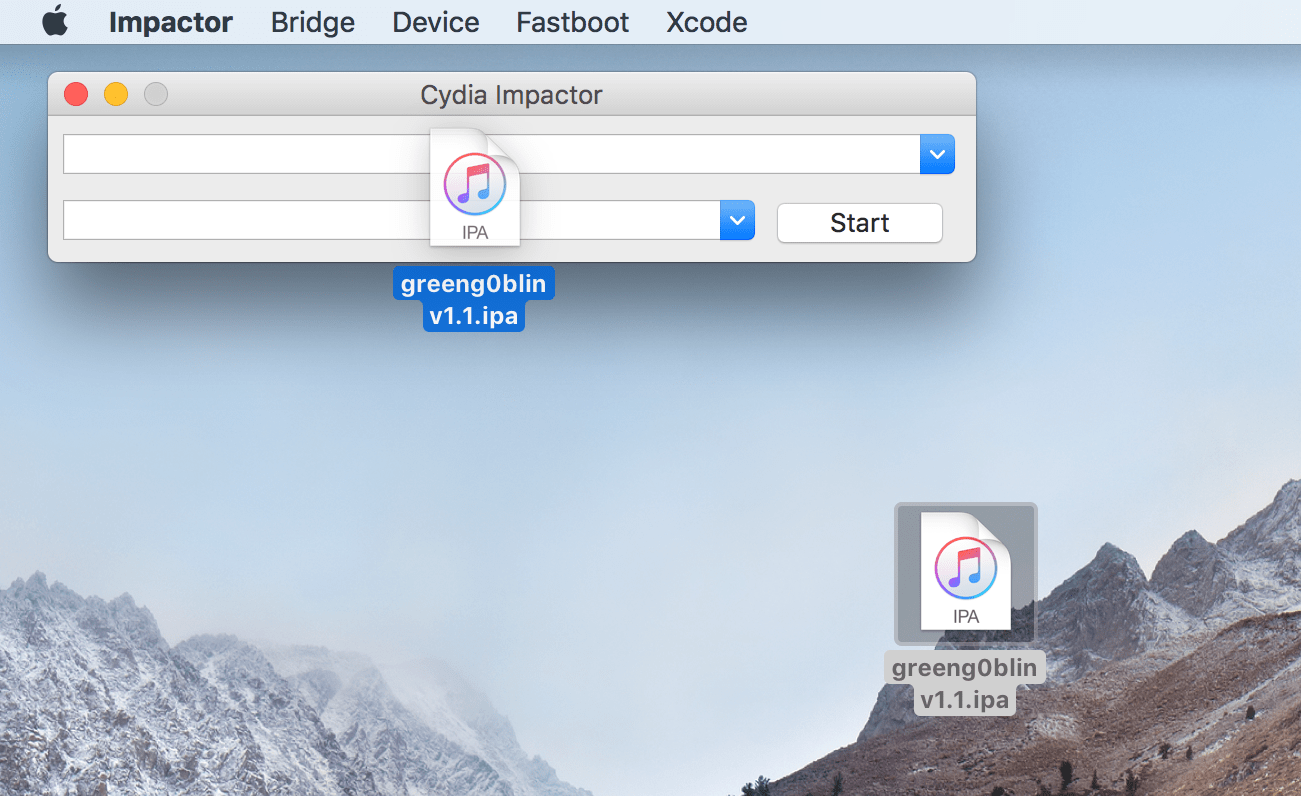
Drag the greeng0blin.ipa onto Impactor
5) The app will now be sideloaded to your Apple TV. Wait for Impactor to complete. As long as the app appears on your Home Screen, you can ignore the non-fatal error which Impactor throws.
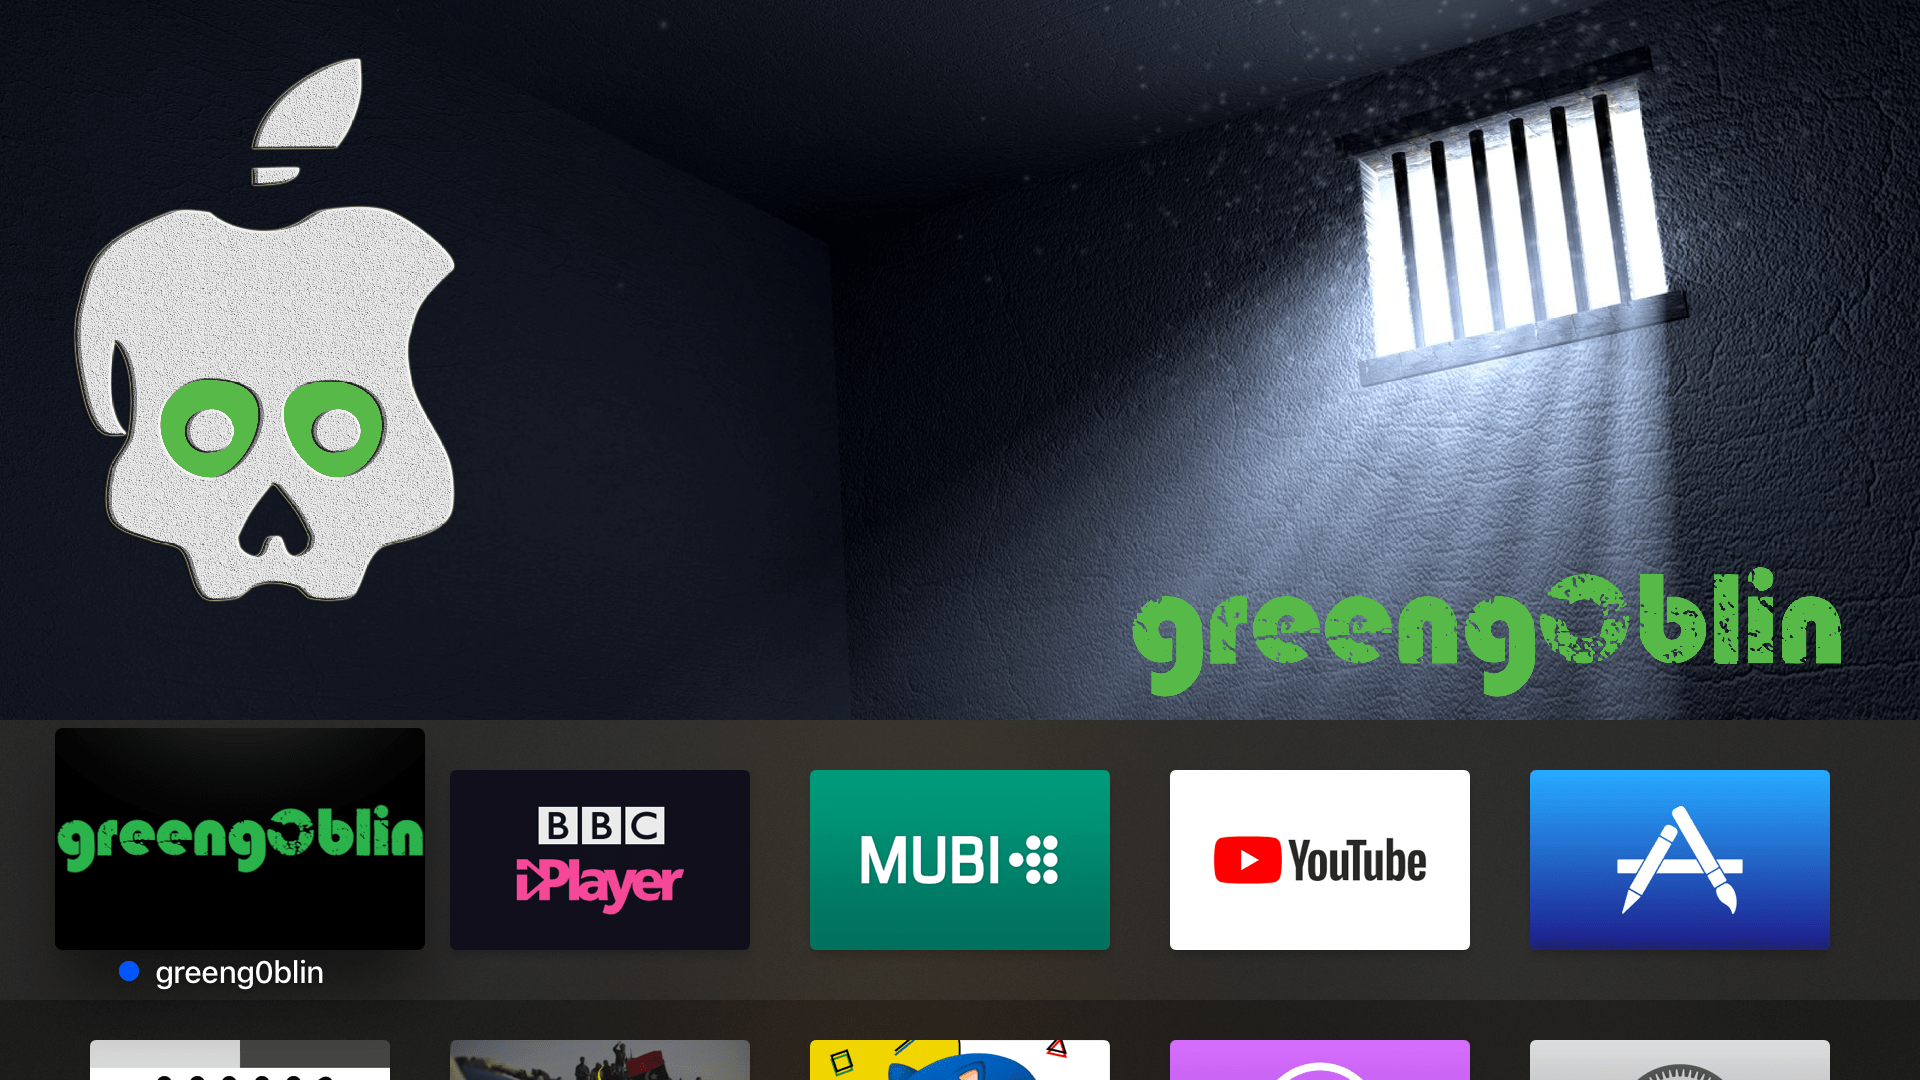
greeng0blin jailbreak on Apple TV
6) Launch greeng0blin, and you’ll find the jailbreak option front and centre. Hit jailbreak to begin.
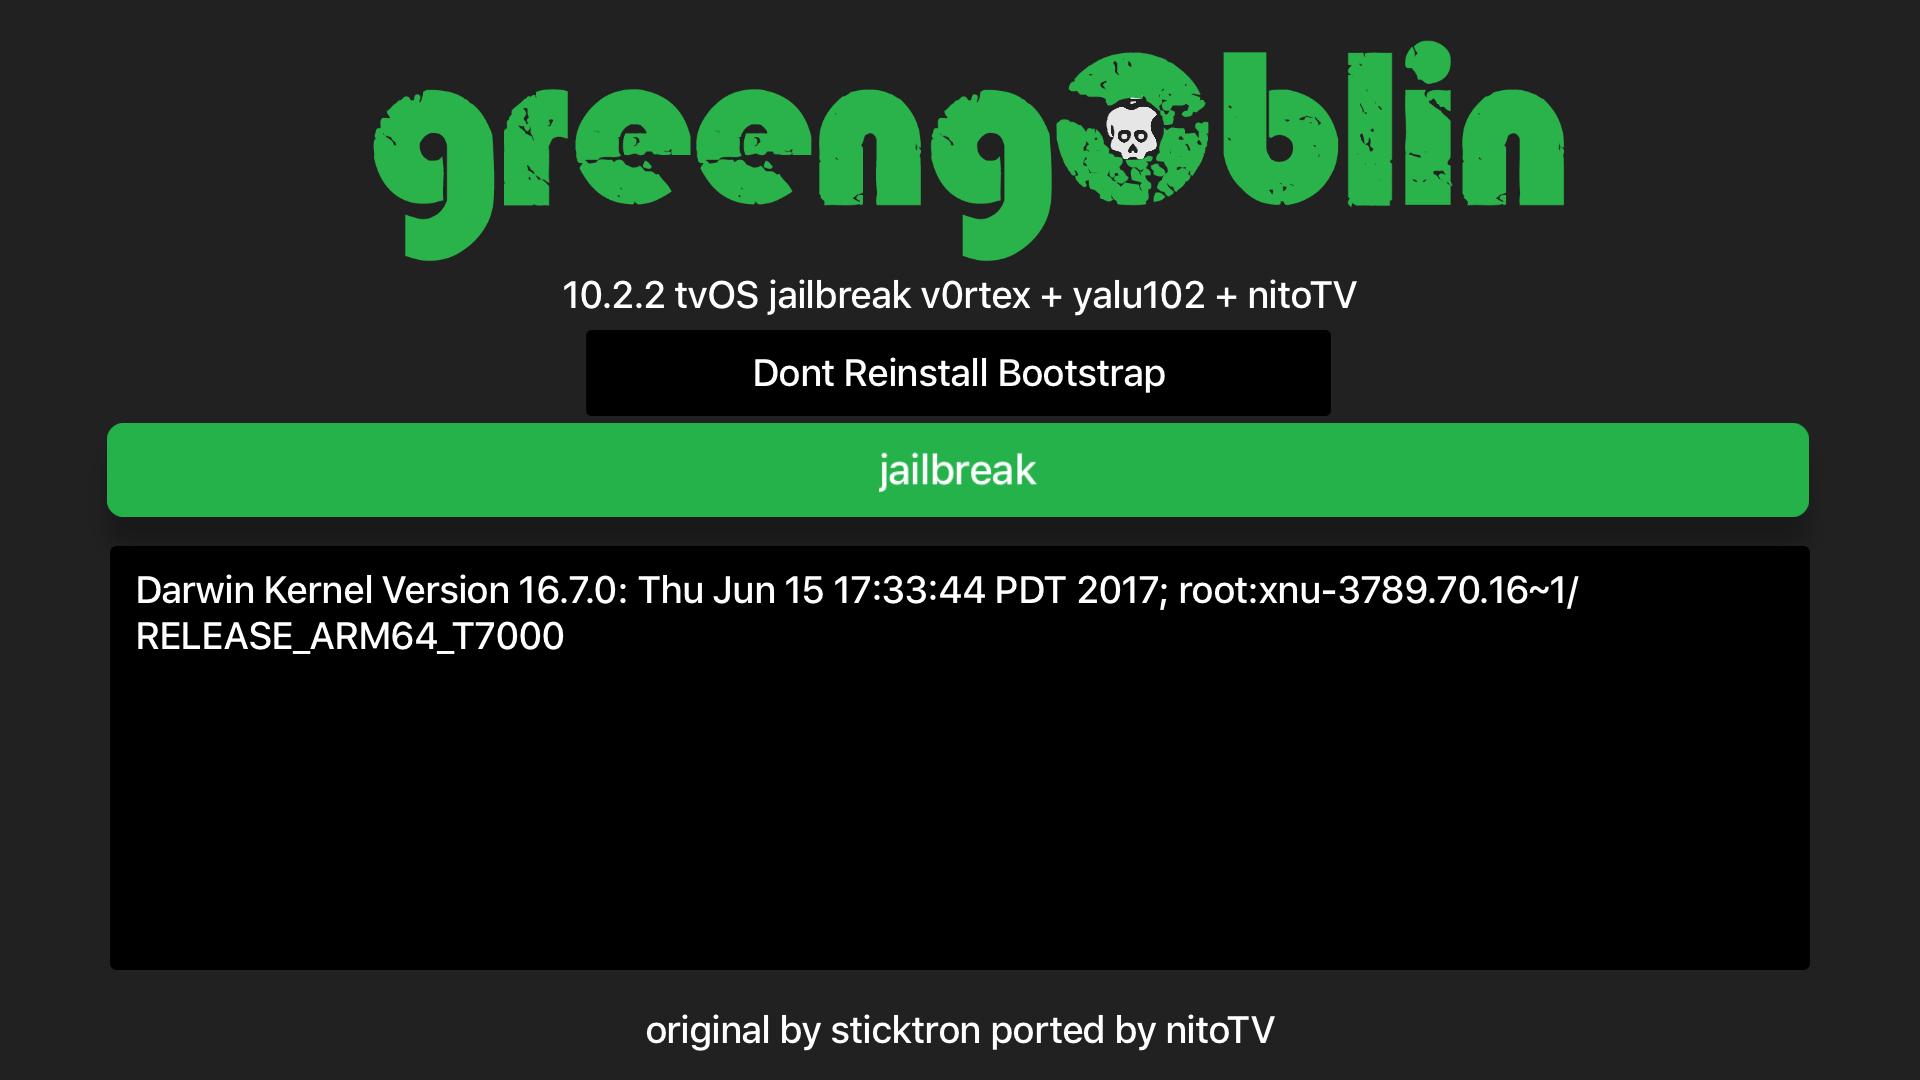
Jailbreak Apple TV with greeng0blin
7) The jailbreak will now attempt to run. Be warned: the KPP bypass it uses is inherently probabilistic and so it may fail several times before succeeding. There is nothing you can do about this, just keep trying. In my experience, it works on average after about 4-6 tries, though it has taken 15+ before, as well as succeeding first time.
8) Once you have successfully jailbroken, the output will prompt you to respring Pineboard. Respring. SSH will now be active too, and you must change your passwords.
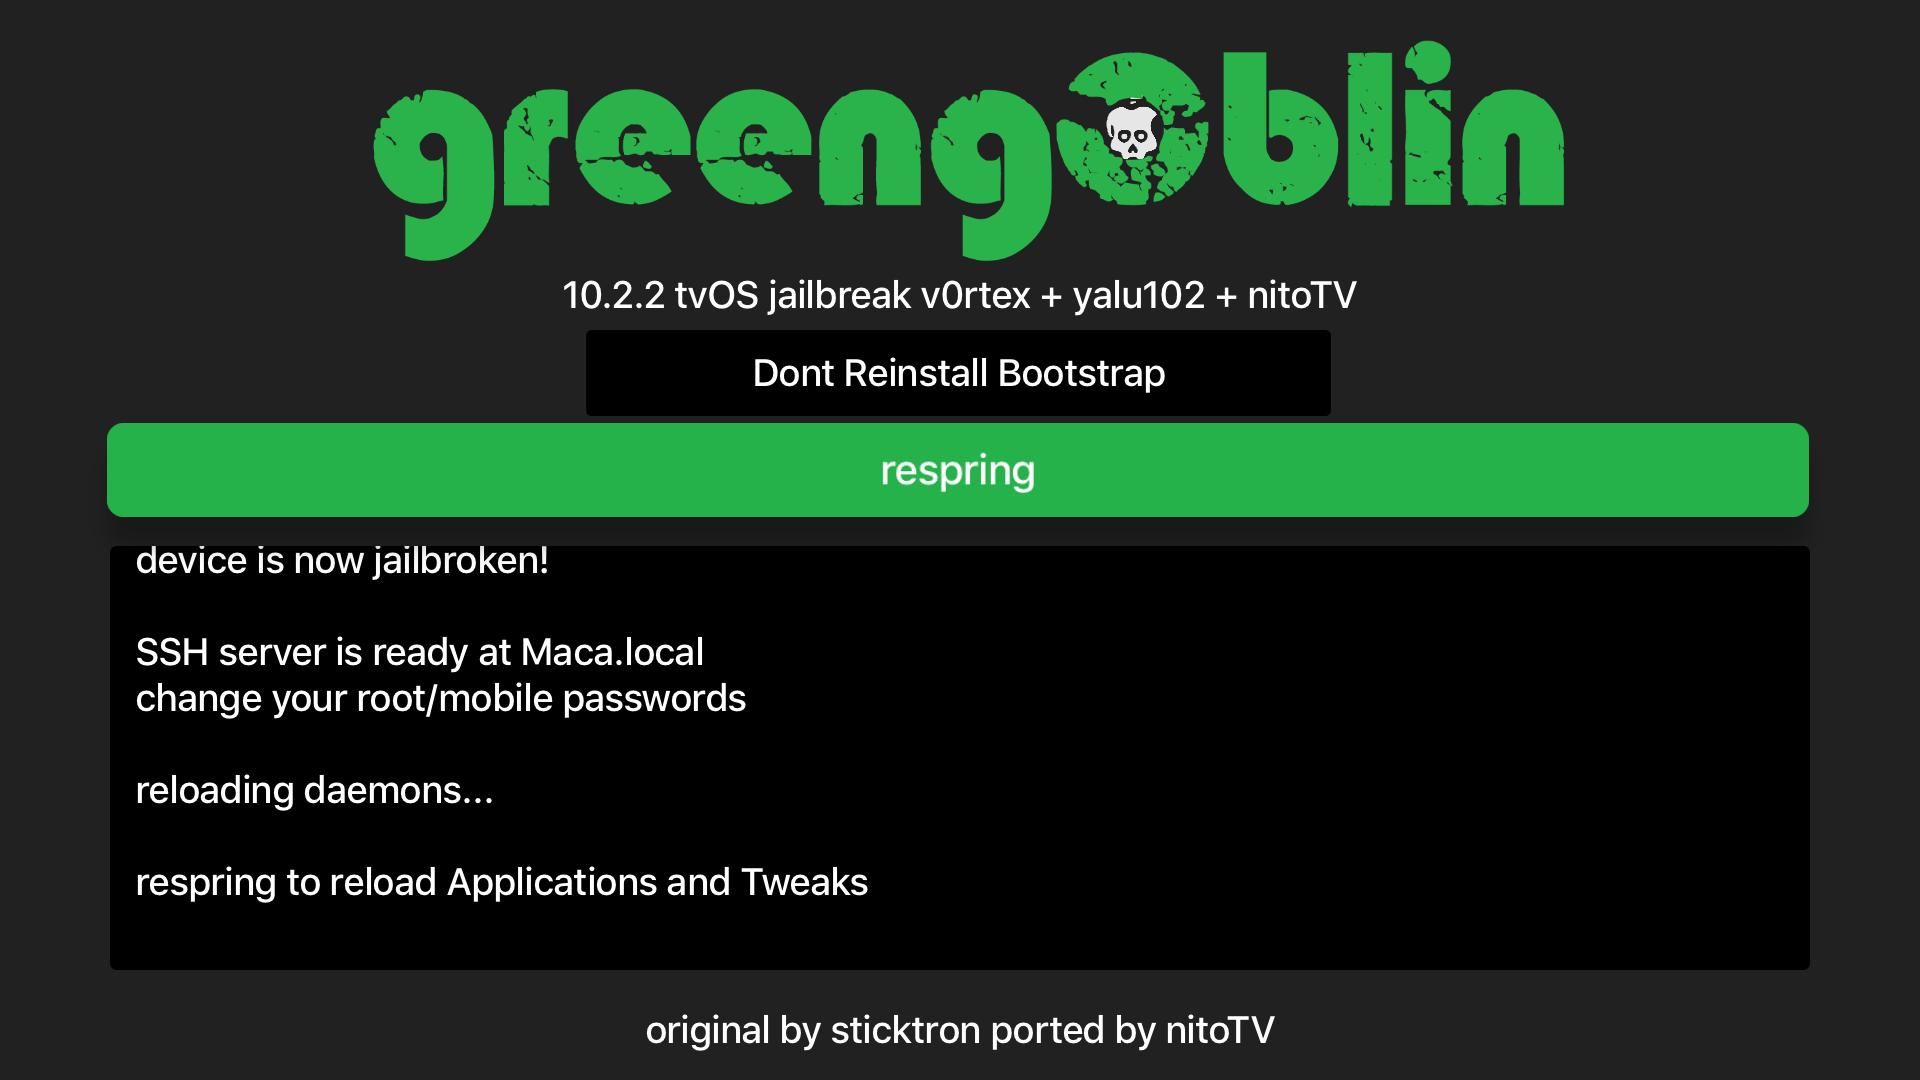
respring Apple TV
9) Optionally, check out the successfully jailbroken screen after changing your SSH passwords. It looks like this:
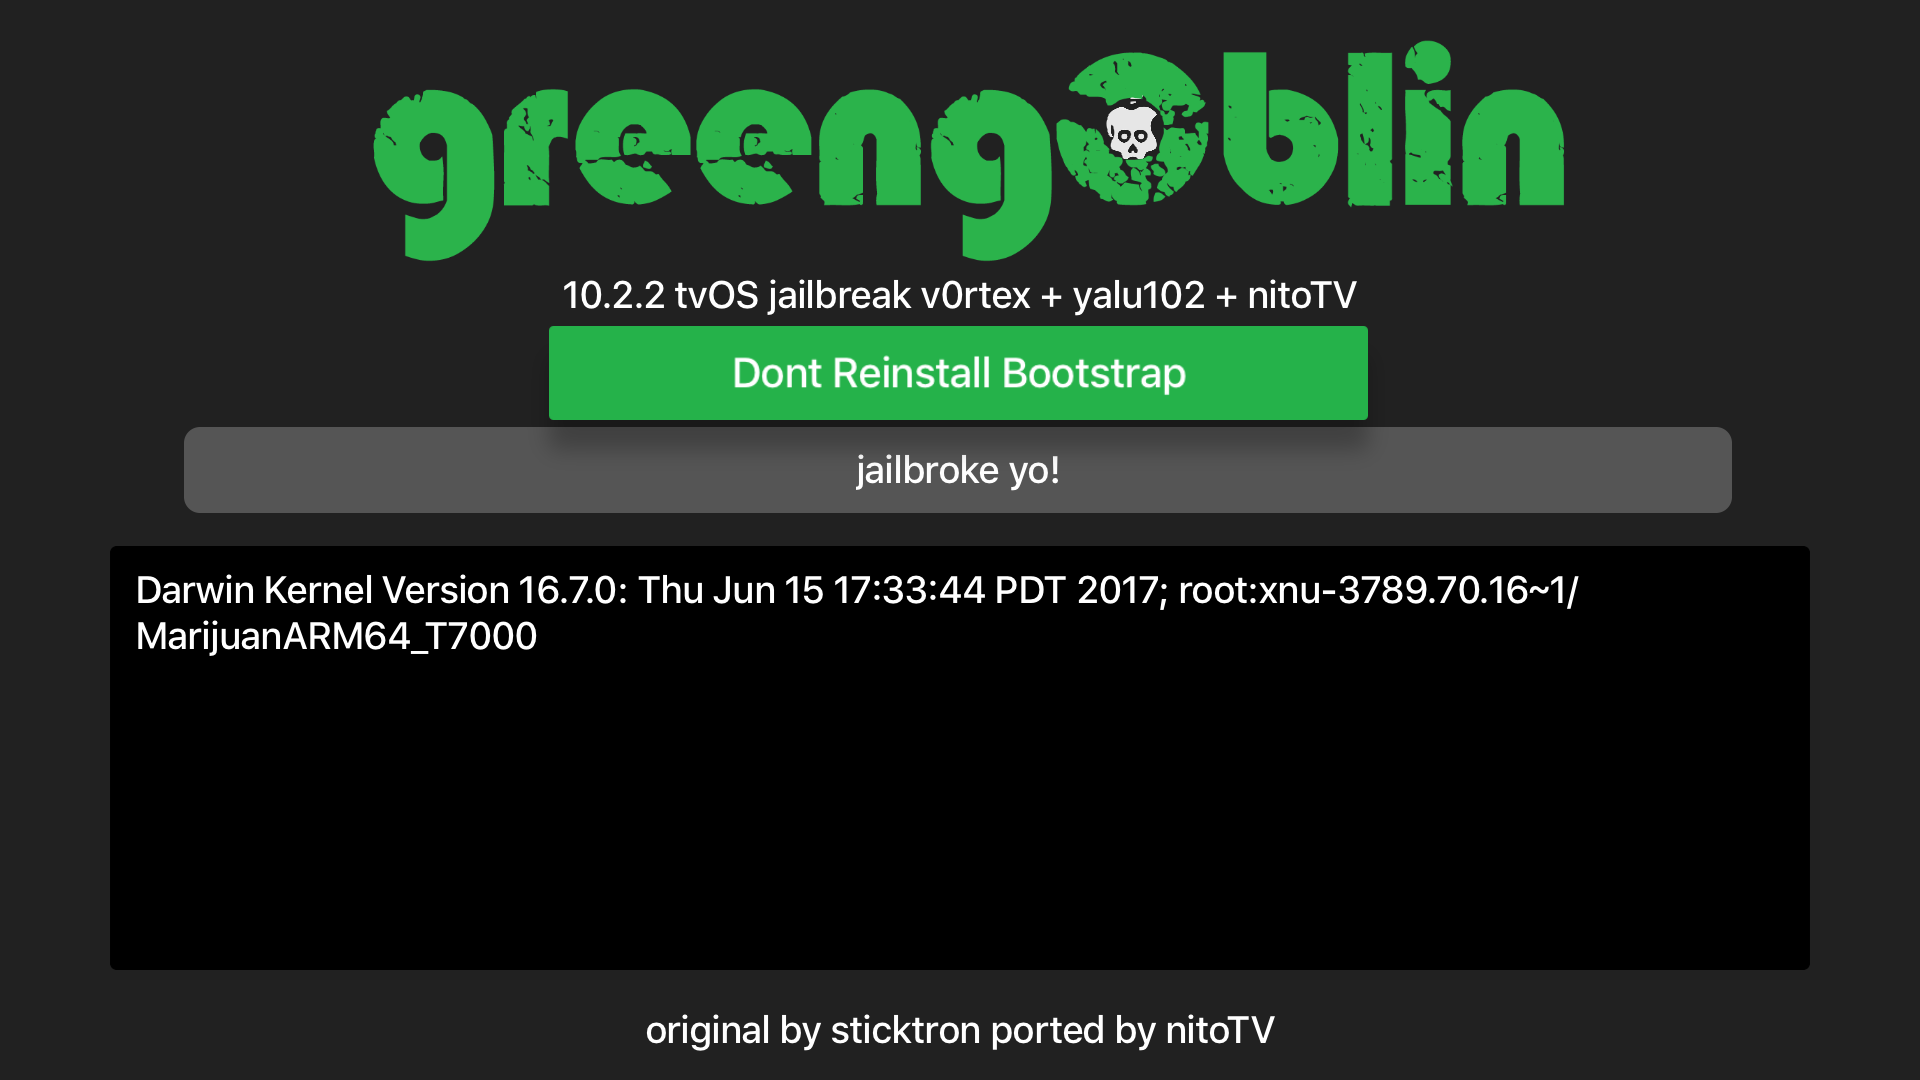
Apple TV successfully jailbroken
Note the kernel information and confirmation message: jailbroke yo! If you have troubles with your jailbreak, there is also a button to Reinstall Bootstrap when re-jailbreaking, which will hopefully clear up any issues. Don’t use it unless necessary though.
10) You can now turn your attention to nitoTV, which will have been installed to your Home Screen as part of the jailbreak. We’ll be doing a hands-on of nitoTV in an upcoming article, so watch out for that!
To remove greeng0blin, simply delete the app and reboot your Apple TV 4. For the more technically minded or more thorough, SSH in and run the command specified in the Terminal readout.
Successfully jailbroken with greeng0blin? Let me know your thoughts below.

Source - iDownloadblog
Image Source - iDownloadblog

CoolStar seeds Electra RC 1.3 to developers

The Electra jailbreak tool has been in beta since it came to fruition in mid-January, but CoolStar changed that this week after seeding a limited developer-only release of Electra RC 1.
On Saturday, he pushed yet another developer-only build dubbed Electra RC 1.3. The revised jailbreak tool adds support for an iOS 11-compatible version of Ryan Petrich’s RocketBootstrap utility, among other things.
Electra RC 1 and RC 1.3 are developer-only releases at this point in time because they each include a patched version of Cydia that works on iOS 11. Several odds and ends still need polishing before it’s entirely ready for the general public, so the limited release gives both developers and repositories ample time to get everything prepared.
Notably, an unnamed jailbreak tweak developer is said to have leaked the original Electra RC to non-developers in the community over the weekend. As if this wasn’t troublesome enough, the leaked build contains unreliable software:
CoolStar advises anyone with interest in jailbreaking iOS 11 with the final release of Electra to steer clear of the leaked build. Running it instead of waiting for CoolStar’s official public version has the potential to damage your device or to make your jailbreak unstable.
In a final set of Tweets shared on Saturday, CoolStar announced his disinterest with iOS and many of Apple’s latest handsets. Consequently, iOS 11 will be the last version of Apple’s mobile operating system that CoolStar releases a jailbreak for – a last hoorah of sorts:
Given the pace at which CoolStar has been flying through things, it shouldn’t be long before everyone gets a chance to jailbreak iOS 11.0-11.1.2 with access to a functioning Cydia app. For those still waiting, patience is a virtue.
Will you use Electra to jailbreak iOS 11.0-11.1.2 once the Cydia-bundled version officially hits the public? Share in the comments below.

Source - iDownloadblog

Saturday, February 3, 2018

Resetting a lost admin password - FortiNet

Resetting a lost admin password

Periodically a situation arises where the FortiGate needs to be accessed or the
admin account’s password needs to be changed but no one with the existing
password is available. If you have physical access to the device and a few other
tools the password can be reset.

Warning:
This procedure will require the reboot of the FortiGate unit.
You will need:
• Console cable
• Terminal software such as Putty.exe (Windows) or Terminal (MacOS)
• Serial number of the FortiGate device

Step 1. Connect the computer to the firewall via the Console port on the
back of the unit.
In most units this is done either by a Serial cable or a RJ-45 to
Serial cable. There are some units that use a USB cable and
Forti Explorer to connect to the console port.
Virtual instances will not have any physical port to connect to so
you will have to use the supplied VM Hosts’ console connection
utility.

Step 2. Start your terminal software.

Step 3. Connect to the firewall using the following:
Setting Value
Speed Baud 9600
Data Bits 8Bit
Parity None
Stop Bits 1
Flow Control No Hardware Flow Control
Com Port The correct com-port

Step 4. The firewall should then respond with its name or hostname. (If it
doesn't try pressing "enter")

Step 5. Reboot the firewall. If there is no power button, disconnect the
power adapter and reconnect it after 10 seconds. Plugging in the
power too soon after unplugging it can cause corruption in the
memory in some units.

Step 6. Wait for the Firewall name and login prompt to appear. The
terminal window should display something similar to the following:
FortiGate-60C (18:52-06.18.2010)
Ver:04000010
Serial number: FGT60C3G10016011
CPU(00): 525MHz
Total RAM: 512 MB
NAND init... 128 MB
MAC Init... nplite#0

Press any key to display configuration menu...
......
reading boot image 1163092 bytes.
Initializing firewall...
System is started.
<name of Fortinet Device> login:

Step 7. Type in the username: maintainer

Step 8. The password is bcpb + the serial number of the firewall (letters of
the serial number are in UPPERCASE format)
Example: bcpbFGT60C3G10016011
Note: On some devices, after the device boots, you have
only 14 seconds or less to type in the username and
password. It might, therefore, be necessary to have the
credentials ready in a text editor, and then copy and paste
them into the login screen. There is no indicator of when
your time runs out so it is possible that it might take more
than one attempt to succeed.

Step 9. Now you should be connected to the firewall. To change the admin
password you type the following…
In a unit where vdoms are not enabled:
config system admin
edit admin
set password <psswrd>
end
In a unit where vdoms are enabled:
config global
config system admin
edit admin
set password <psswrd>
end

Warning
Good news and bad news. Some might be worried that there is a backdoor into
the system. The maintainer feature/account is enabled by default, but the good
news is, if you wish, there is an option to disable this feature. The bad news is
that if you disable the feature and lose the password without having someone
else that can log in as a superadmin profile user you will be out of options.

If you attempt to use the maintainer account and see the message on the
console, “PASSWORD RECOVERY FUNCTIONALITY IS DISABLED”, this
means that the maintainer account has been disabled.
Disabling the maintainer feature/account
Use the following command in the CLI to change the status of the maintainer
account
To disable
config system global
set admin-maintainer disable
end
To enable
config system global
set admin-maintainer enable
end

Monday, January 29, 2018

PDF printing slow? - Here's the FIX!!

When the print is given to the network printer in the office it is printing very slow. It lasts a long time before the print job has been sent to the printer, after sending the print job to the printer it lasts a very long time before the printer prints. It prints page 1 and than I have to wait 2 minutes before the second page prints

And to fix the issue carry out the steps mentioned below 

If Adobe Acrobat Reader prints slowly try the following:


1.             Open a PDF file

2.             From the menu, select File > Print

3.             From the dialog displayed, click on the Advanced button at the bottom

4.             On the Advanced Print Setup dialog, make sure that “Let printer determine colors” is CHECKED.


5.             Click OK and OK to print the document.

This worked for me and believe will help you
Or try the below option
On the PC version, when you select print there will be an advanced button
Adobe Reader Advanced Button
After selecting the advanced button there will be a “print as image” selection box that must be checked to allow for quicker printing.
Adobe Reader Print As Image

On a Mac, the procedure is similar, go to print, and on the bottom left will be an advanced button.
Adobe Reader Mac Advanced Button

Click the button then you will be presented with the next window that contains the print as image option.
Adobe Reader Mac Print As Image Button

Hopefully this helped in alleviating annoying print problems with PDF’s. Please leave a comment if this helped solve a problem for you, or if you have anything else to add